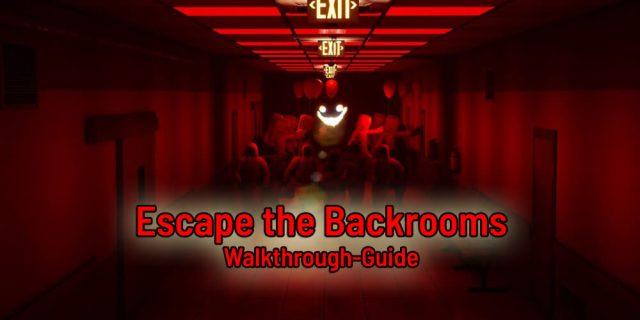
The horror exploration game Escape the Backrooms from the developer Fancy Games transports you to a scenario with a maze of seemingly endless rooms, which you must escape from alive. You can play the horror trip alone or with up to 4 other players. The Early Access game is currently available on Steam and has been equipped with VR support, among other things.
In our Escape the Backrooms Guide we will show you the right way in each level section of the game and how to escape from them alive.
More: Horror Games 2023 – Horror awaits you!
Escape the Backrooms: The walkthrough guide to the horror game
The Steam game Escape the Backrooms is currently in Early Access and is being developed by programmer and YouTuber Fancy from the United States. For the players who have problems with finishing the game, this guide will be of great help. Below we list the respective levels and the way through them.
Level 0: Backroom (introductory level)
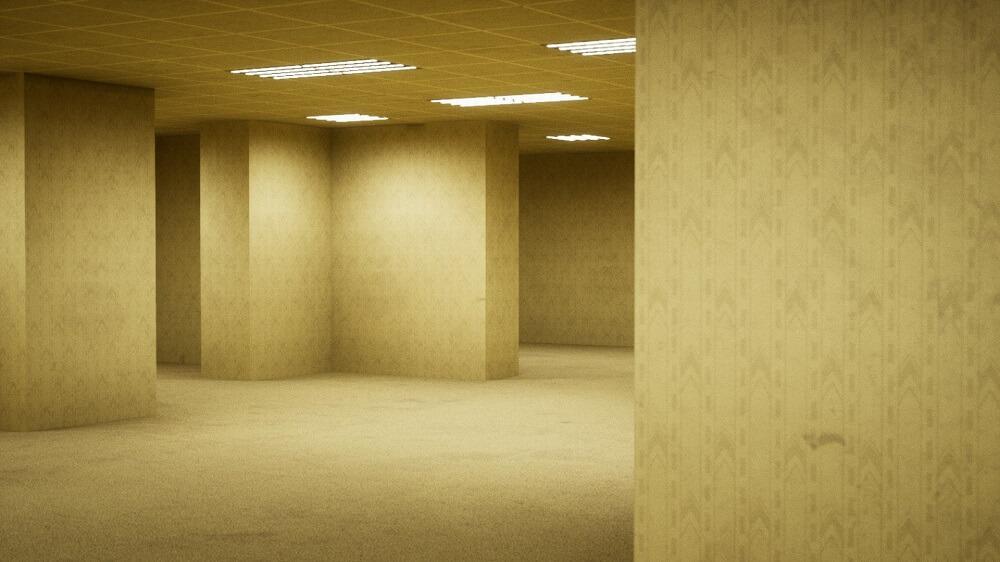
At the beginning of the horror game, you awaken in an empty yellow room, although the spawn point can vary when you play again. After you have repaired the ladder with the two ladder elements, you will find the key for the exit on the right side. With it you open the only door in the room (going away from the ladder the right corridor) and enter a section where you have to balance over squarely arranged walls. After a certain time, enemies may spawn, but you can escape them relatively easily.
Level 1 – Zone
In the first level of Escape the Backrooms you spawn in an empty animal garage. From the spawnpunt go to the right and go through the red door with a small window. Behind them are cars with the colors red, green, blue and yellow. Memorize the order of the vehicles and enter them via the terminal at the starting point of the level to open the elevator door. In the garage, keep looking around before leaving and take the flashlight with you.
Level 1 – Section 2
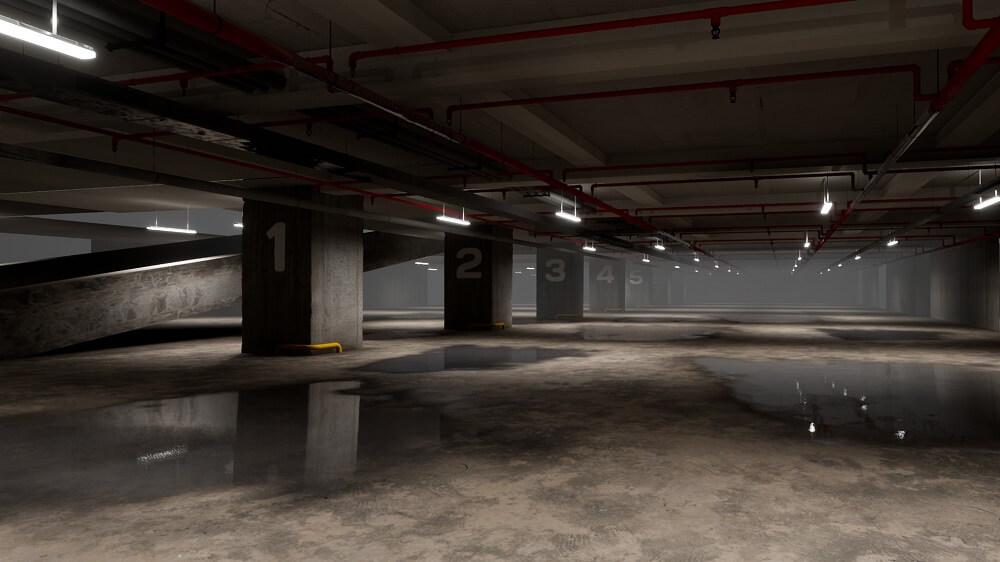
In the second section of the first level you have to search the garage for a total of 4 keys. There are 6 doors in the garage, but you only need a key to open 4 of them. After you find all the keys, go to the room in the middle of the garage and use them there.
In the level you will encounter enemies for the first time, which are called skin stealers. He disguises himself as a player character with a suit and transforms into his true form in your immediate surroundings. Here, in co-op mode, communication with each other is especially important. Run away from the opponent. The easiest way to escape is through other rooms, since the enemies in the game can not open doors.
Level 1 – Section 3
In the third section of the first level it is very dark, so even the flashlight you find will be of little use. It is recommended to move carefully and avoid the enemies by stealth. The garage consists of 3 floors, each with 2, 3 and at the very bottom 3 doors. Behind one of these doors is an elevator, the appearance of which is random.
Level 2 – The Hub
At the spawn point of the second level you will see a large garage door at the beginning, but it can’t be opened yet. Enter the tunnel through the other door. On the right side you will find a green panel with which you can turn on the light. Through the computers you need to enter a code to open the big gate from the beginning of the level. You will find this on a notepad near the windows by the elevator.
Once you have successfully dialed into the computer, you need to click on the “Tor” file, click on “Run” and confirm the entry with “OK”. Now return to the spawn point and enter the next level section through the big gate.
Level 3 – Habitable Zone (Smilers)
Open the garage door in front of which you are standing at the beginning of the third level. Keep walking and be careful not to move when the light goes out. In this section of the game you’ll encounter smilers who want to get at you. As soon as the light comes back on, run to the right into the illuminated corridor. Stop as soon as the light flickers immediately after switching on. When the light flickers, you have 10 seconds to continue.
Move away during the flickering light and examine the doors in the room. Behind one is the right exit, which you can recognize by the pipes inside.
Level 4 – Pipe Dreams
At the beginning of the level you have to choose a gear at a fork in the road. The sign for the left aisle says “Station” and the one on the right says “Fun”. Follow the corridor on the left, which leads to the station. If you didn’t buy the flashlight at the beginning of the game, here’s another opportunity to do so. This is located by the left corner of the room. As soon as you continue following the dark corridor, a Smiler will chase you. Even without looking back, the horror game’s sound design will let you know exactly when it’s time. Follow the dark corridor until you see a door on the left side of the corridor and go through it.
Level 5 – Electrical Station
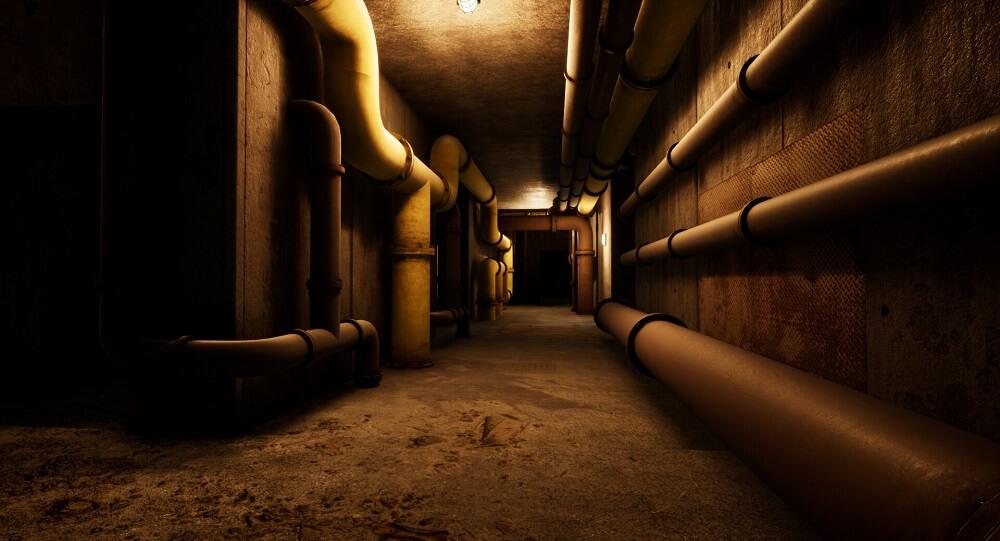
From the spawn point of the fifth level, go to the end of the corridor, where the door will open by itself. Once there, you will find boxes with red lamps. You have to move the total of 3 to 4 boxes so that the lamp starts to glow green. Once you have done that, you will hear a gate opening near you. In the passage behind you will meet a hound, from which you have to flee. As a backup, you can temporarily blind the enemy with your flashlight to keep them at bay if you already have one.
Follow the corridor, go through the left door and through the hole in the wall. The goal is to repair the boxes to finish the level.
Level 5 – part 2
After finding the boxes, you need to return to the gate through which you came at the beginning of the level. Another gate has now opened there further away. In the room another hound is already waiting for you, from which you have to escape. After it is despawned on successful escape, return and open the door in the corridor behind the gate. In the following level section you have to find and repair 3 more crates. On the way there, dogs will get in your way, which you will have to avoid. The boxes spawn in random places in the rooms. In the last room a hound awaits you, which disappears after a successful escape.
After finding all the boxes, return to the gate at the beginning of the fifth level. There, the last closed gate has now opened. This will take you to the sixth level of the horror game.
Level 6 – Abandoned offices
In the sixth level of Escape the Backrooms you’ll enter an abandoned office building. In one of the rooms you will find a file that warns you about some of the windows that look different from the others. These turn out to be traps. The first task in this level is to count the items in the rooms and enter the correct result via the terminal. Meanwhile, avoid the cameras in the building. If you were caught by one of the cameras, you have to reset it in the security room.
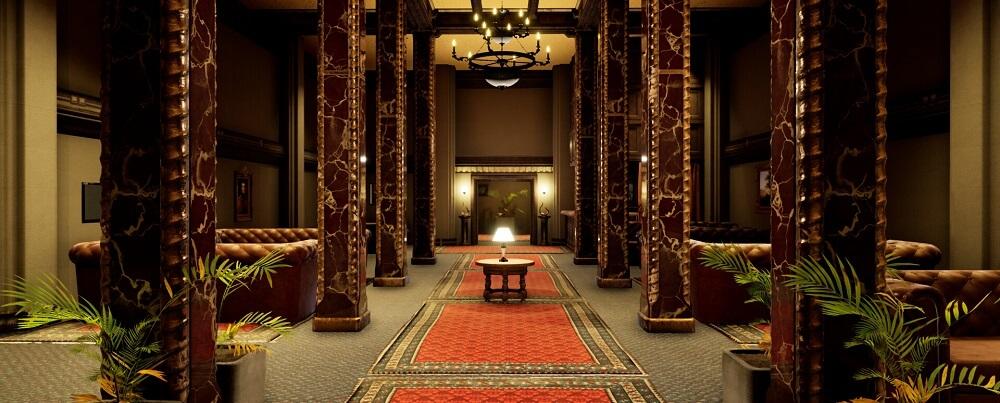
Level 7 – The Terror Hotel
This level takes you to the lobby of a hotel at the beginning. Interact with the buttons of the images here and start with the youngest, all the way to the oldest image. Meanwhile, find the insect spray in the lobby and use it on the swarms of moths that are buzzing around there in various places. Through this you get moth jelly, for which you get at the elevator against 3 keys.
Level 7 – Part 2
The second part of the seventh level gets a little trickier. The map is patrolled by hounds and shapeshifters, which you should avoid. At the spawn point there are mailboxes, some of which are open. The goal is to find the letters in the associated rooms. These must be placed in the respective boxes, and then enter the code obtained for the whitest door. If you encounter the enemies on your quest, take flight and hide in the closets or lock the doors behind you when entering a room.
Should you don’t feel like searching for the right code, we will present it to you below. The code will randomly be one of the following codes at each level restart: 89472 – 05938 – 17564
Level 8 – Boiler room
The goal of the eighth level is quickly explained: you have to find the right exit. At the beginning of the level you will find a thermometer lying on the table in front of you, which will help you in your search. During the search you will face large moths, which you must avoid. The wrong outputs will be displayed as “hot” with the corresponding effect. Once you’ve found the real exit, you’ll continue with the ninth level of Escape the Backrooms.
Level 9 – Pipe Dreams second part
In the ninth level you enter the area with the pipes on the walls again. At the fork in the road, however, this time don’t walk in the direction of “Station”, but take the other path in the direction of “Fun”.
Level 10 – The Party Room
One of the most important information about the tenth level of the game in advance: within the level you will find the item “liquid pain”. If you want to continue playing the game and successfully master it, you’d better not drink this liquid.
From the spawn point, walk down the hallway and hide under the party room tables to avoid detection. The goal is to find and enter the next large room undetected. After entering it, run to the corridor on your left, enter it and hide under the table. Once the party guests have passed you, go back to the big room and keep left. In the next passage on the left side, repeat the same. Follow the path and you will enter a room with colorful balloons and follow the path until you find a room with tiles on the wall.
Level 11 – Pool area
The pool area in Escape the Backrooms is one of the most elaborately designed levels in the horror game. From the spawn point, walk up the long staircase and stand in front of a door. To successfully complete the level, you need to go to the furthest point from the spawn. You can recognize the exit by the red lights that illuminate it.
Level 12 – Run for your life
In the twelfth level of the game, the only danger is that you might pass through the door, which opens by itself. It is best to give this door a wide berth.
Level 13 – The end
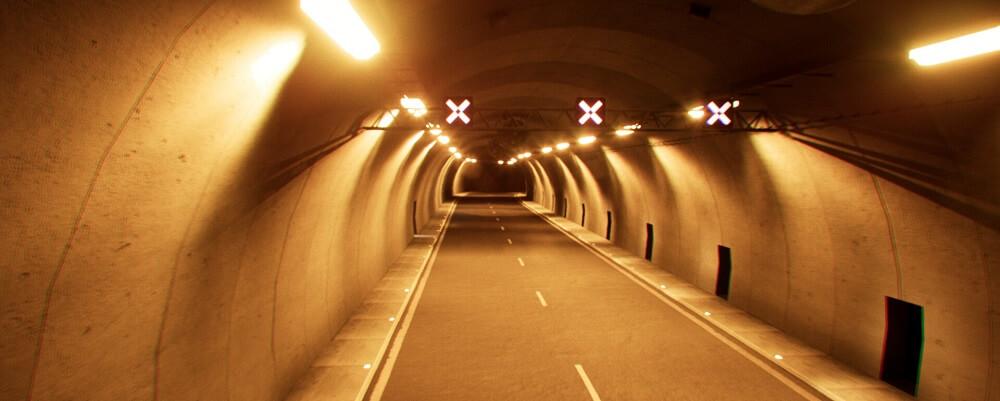
The goal of this level is to collect a total of 24 ribbons. However, you should start the search only after you have turned on the computer. During your quest, a dangerous creature patrols inside the level, which will kill you on contact. Stay away from it and escape as soon as it sees you. To draw the enemy away, you can activate one of the two fire alarms to draw attention to it. However, luring it away with a fire alaram does not work if it is actively pursuing you.
Level 14 – Infinite Staircase
The setting of this level is a lighthouse. As the level name suggests, you can follow the stairs in the tower indefinitely. To find the exit, you need to jump down from the middle of the stairs.
Level 15 – Hill Houses
You spawn in this level at the edge of a city, where you see yellow houses on hills. The goal is to get past the houses to the floating castle. Simply running through it would be too easy, of course: end developer Fancy Games has given this level a day-night cycle. At night, nocturnal monsters roam the city and want to eat you as midnight snacks. It is recommended to collect almond water, which can be found in cupboards.
Nightfall can be detected, among other things, by the speakers playing music. Shortly before nightfall, they stop playing the music. Stay away from the front doors of houses during the night. If you hear a knock, it indicates that the door is being kicked open by malicious people.

Level 16 – Synth Wave
In the first level section of level 16 you have to move the small boxes, which are recognizable by the checkerboard pattern, and form a circle with them. In the second level section you better not be afraid of horror clowns. Because that’s exactly who is waiting for you here and would like to play tricks on you. The killer clown is chasing you and wants to knock out your lights with his big hammer. If he gets too close during your escape, blind him with your flashlight and he will disappear for a short time. If you haven’t gotten yourself a flashlight yet, you can find one in the room with a little skill.
Now you have to run away from the clown until you hear a honk. This sound comes from the roller coaster, to which you have to run and ride away with it.
Level 17 – Lights Out
The rooms in the building of the level are quite dark and the use of the flashlight is very important. Run to the room where you see a blinking light. Once here, you will find a scanner, which you will take. With the help of the scanner, luminous dots become visible on the walls. When searching for the right exit, beware of the Wretch. You can recognize this by a red dot on the scanner. Follow the spacious corridors until you find a corridor with a light source and a white door. This is the output.
Level 18 – Thalassophobia
The last level of Escape the Backrooms is not very challenging. The spawn point is a staircase, if you follow it upwards you will find a door. However, if you follow the stairs down, you will see the sea, with a boat on the jetty.
Are you interested in other game genres as well? Then check out our guides or Specials to the hottest games! Want to get a new game on the cheap? Then buy it at our partner MMOGA.


